Melissa came over this afternoon to hang out, get some fresh air, and do some physical labor. Among other things, we edged, weeded, and laid compost around the apple saplings. Looking good out front as well as in the rear.


Melissa came over this afternoon to hang out, get some fresh air, and do some physical labor. Among other things, we edged, weeded, and laid compost around the apple saplings. Looking good out front as well as in the rear.
I’m tired.
There’s still a pile of compost on the driveway, but it’s less than half the size it was this morning. And it’s only there because I didn’t let folks mulch non-farm related areas. Those feel like personal responsibility. Not because we couldn’t have moved it all in a single day. So, once again, I am amazed by what a small group of people can accomplish when we come together and set our head, heart, and hands to it.
Here are a few highlights from the day.
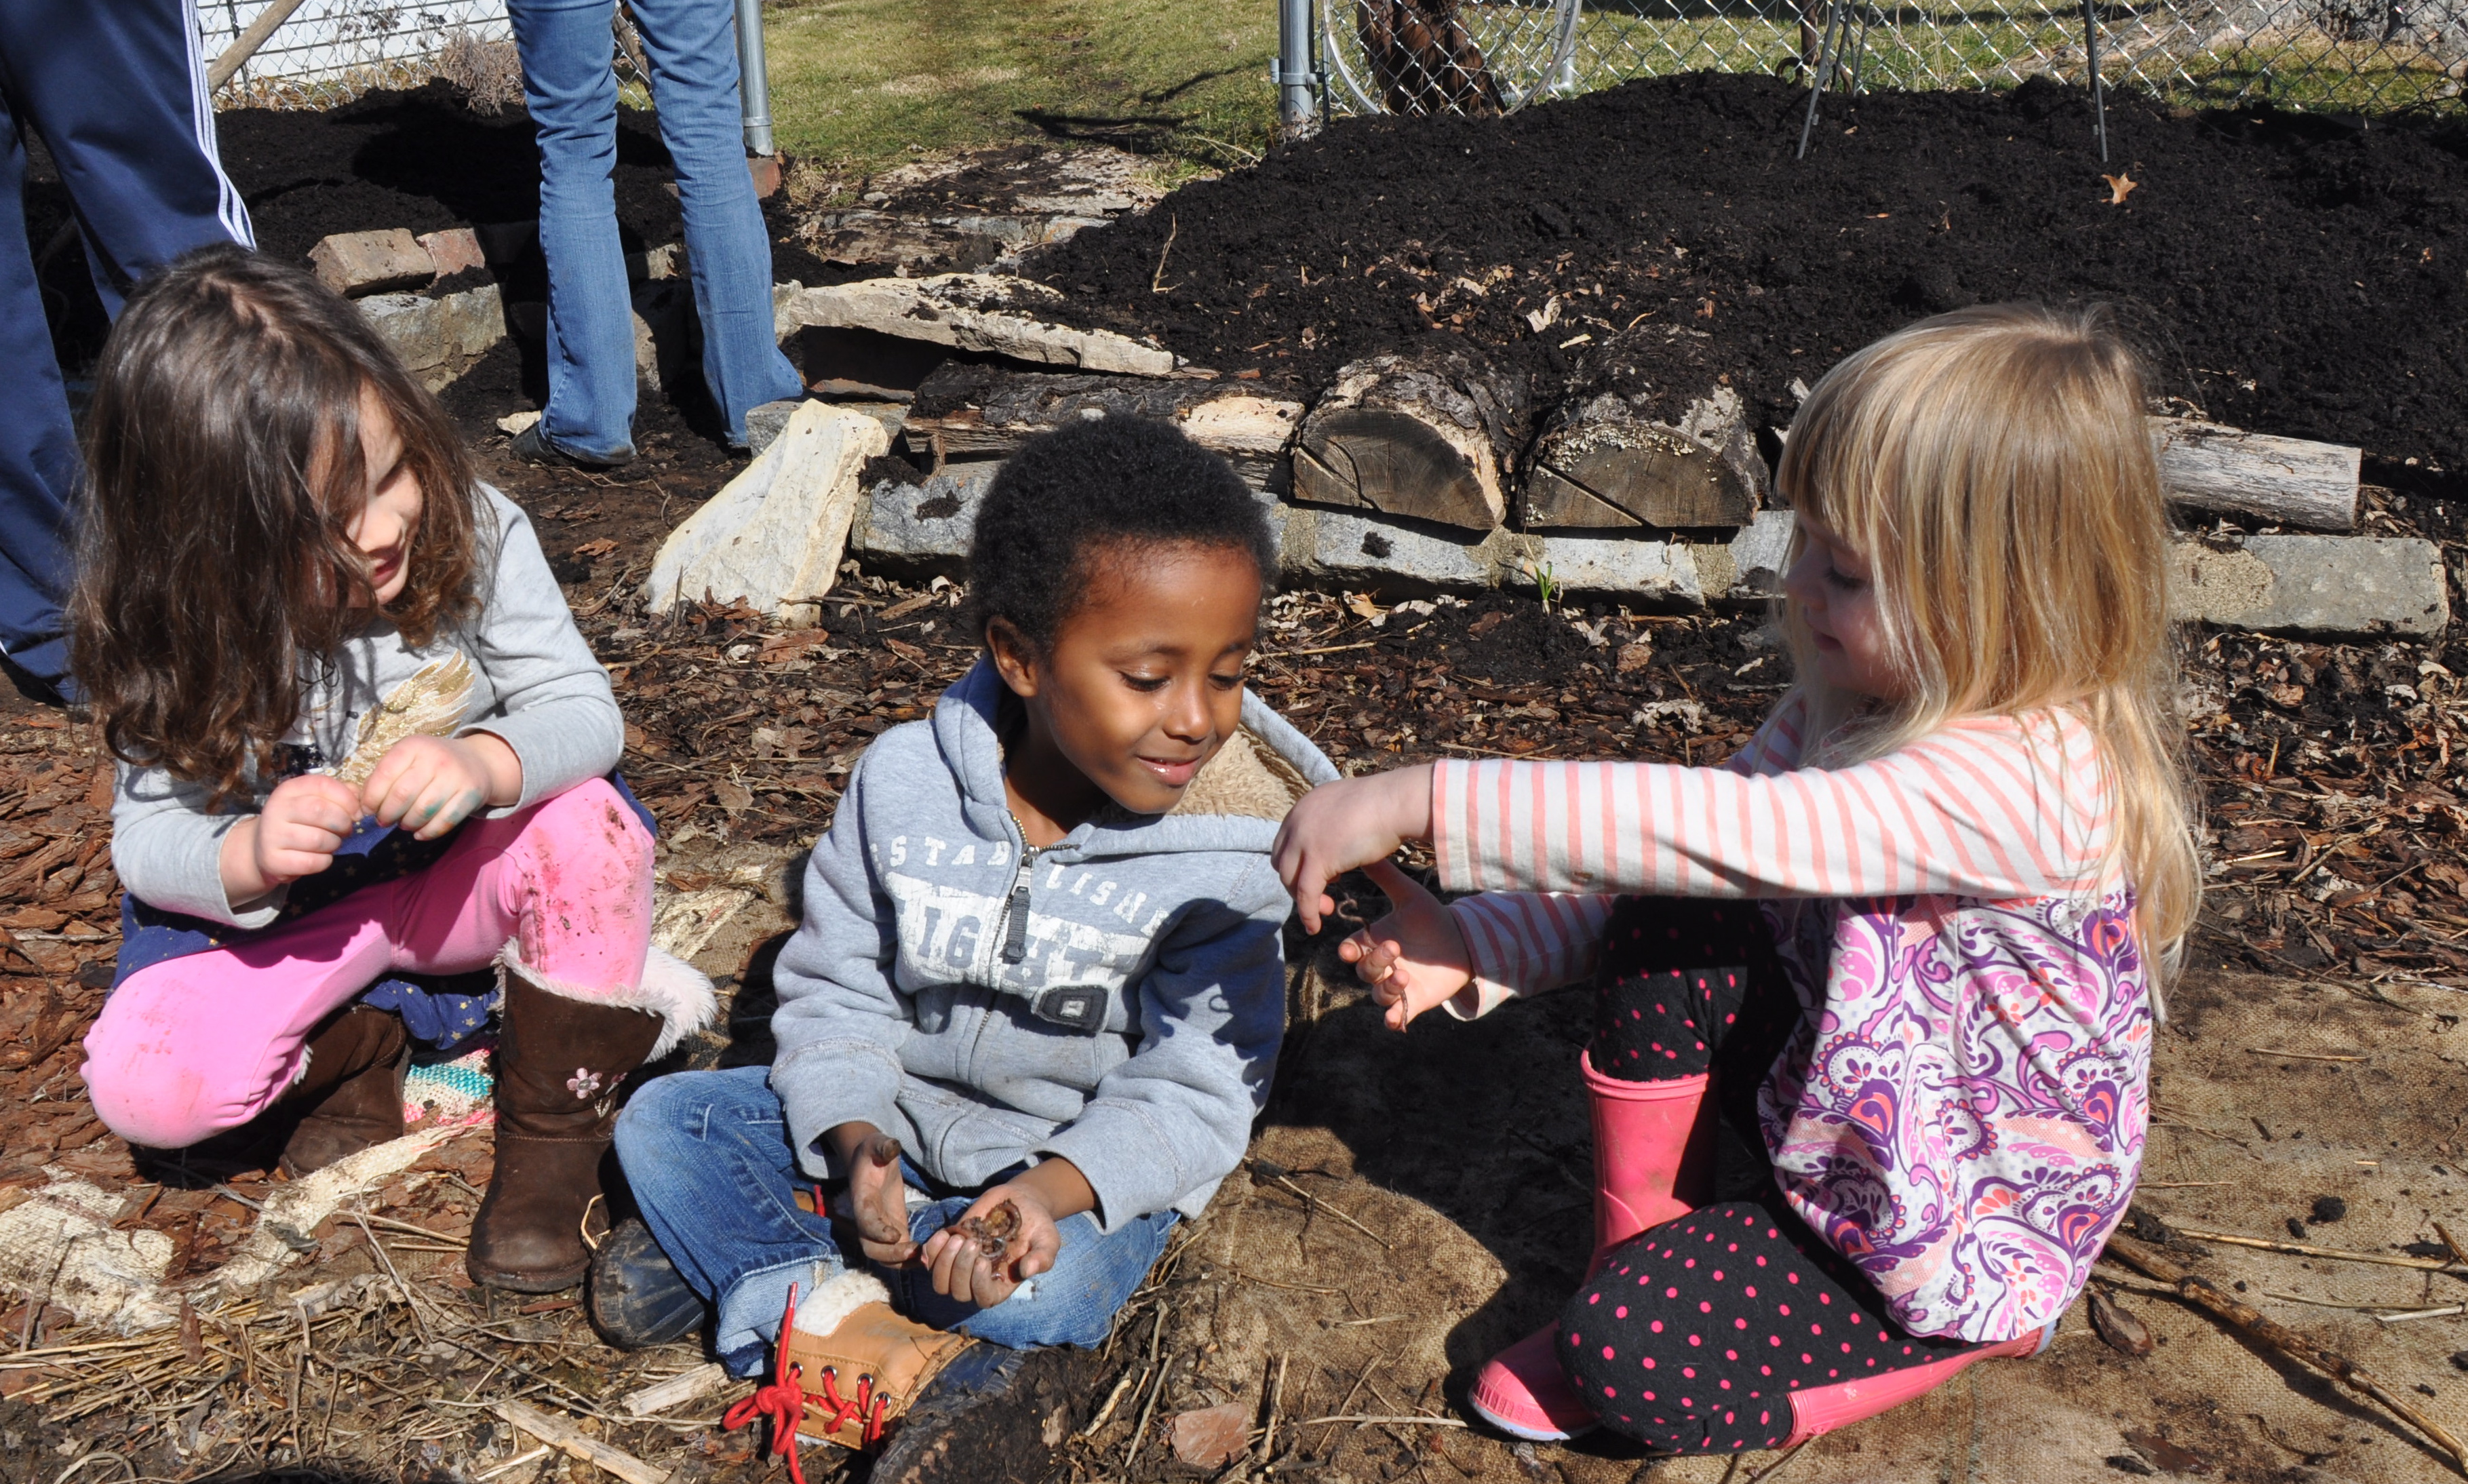
The kids went worm hunting,

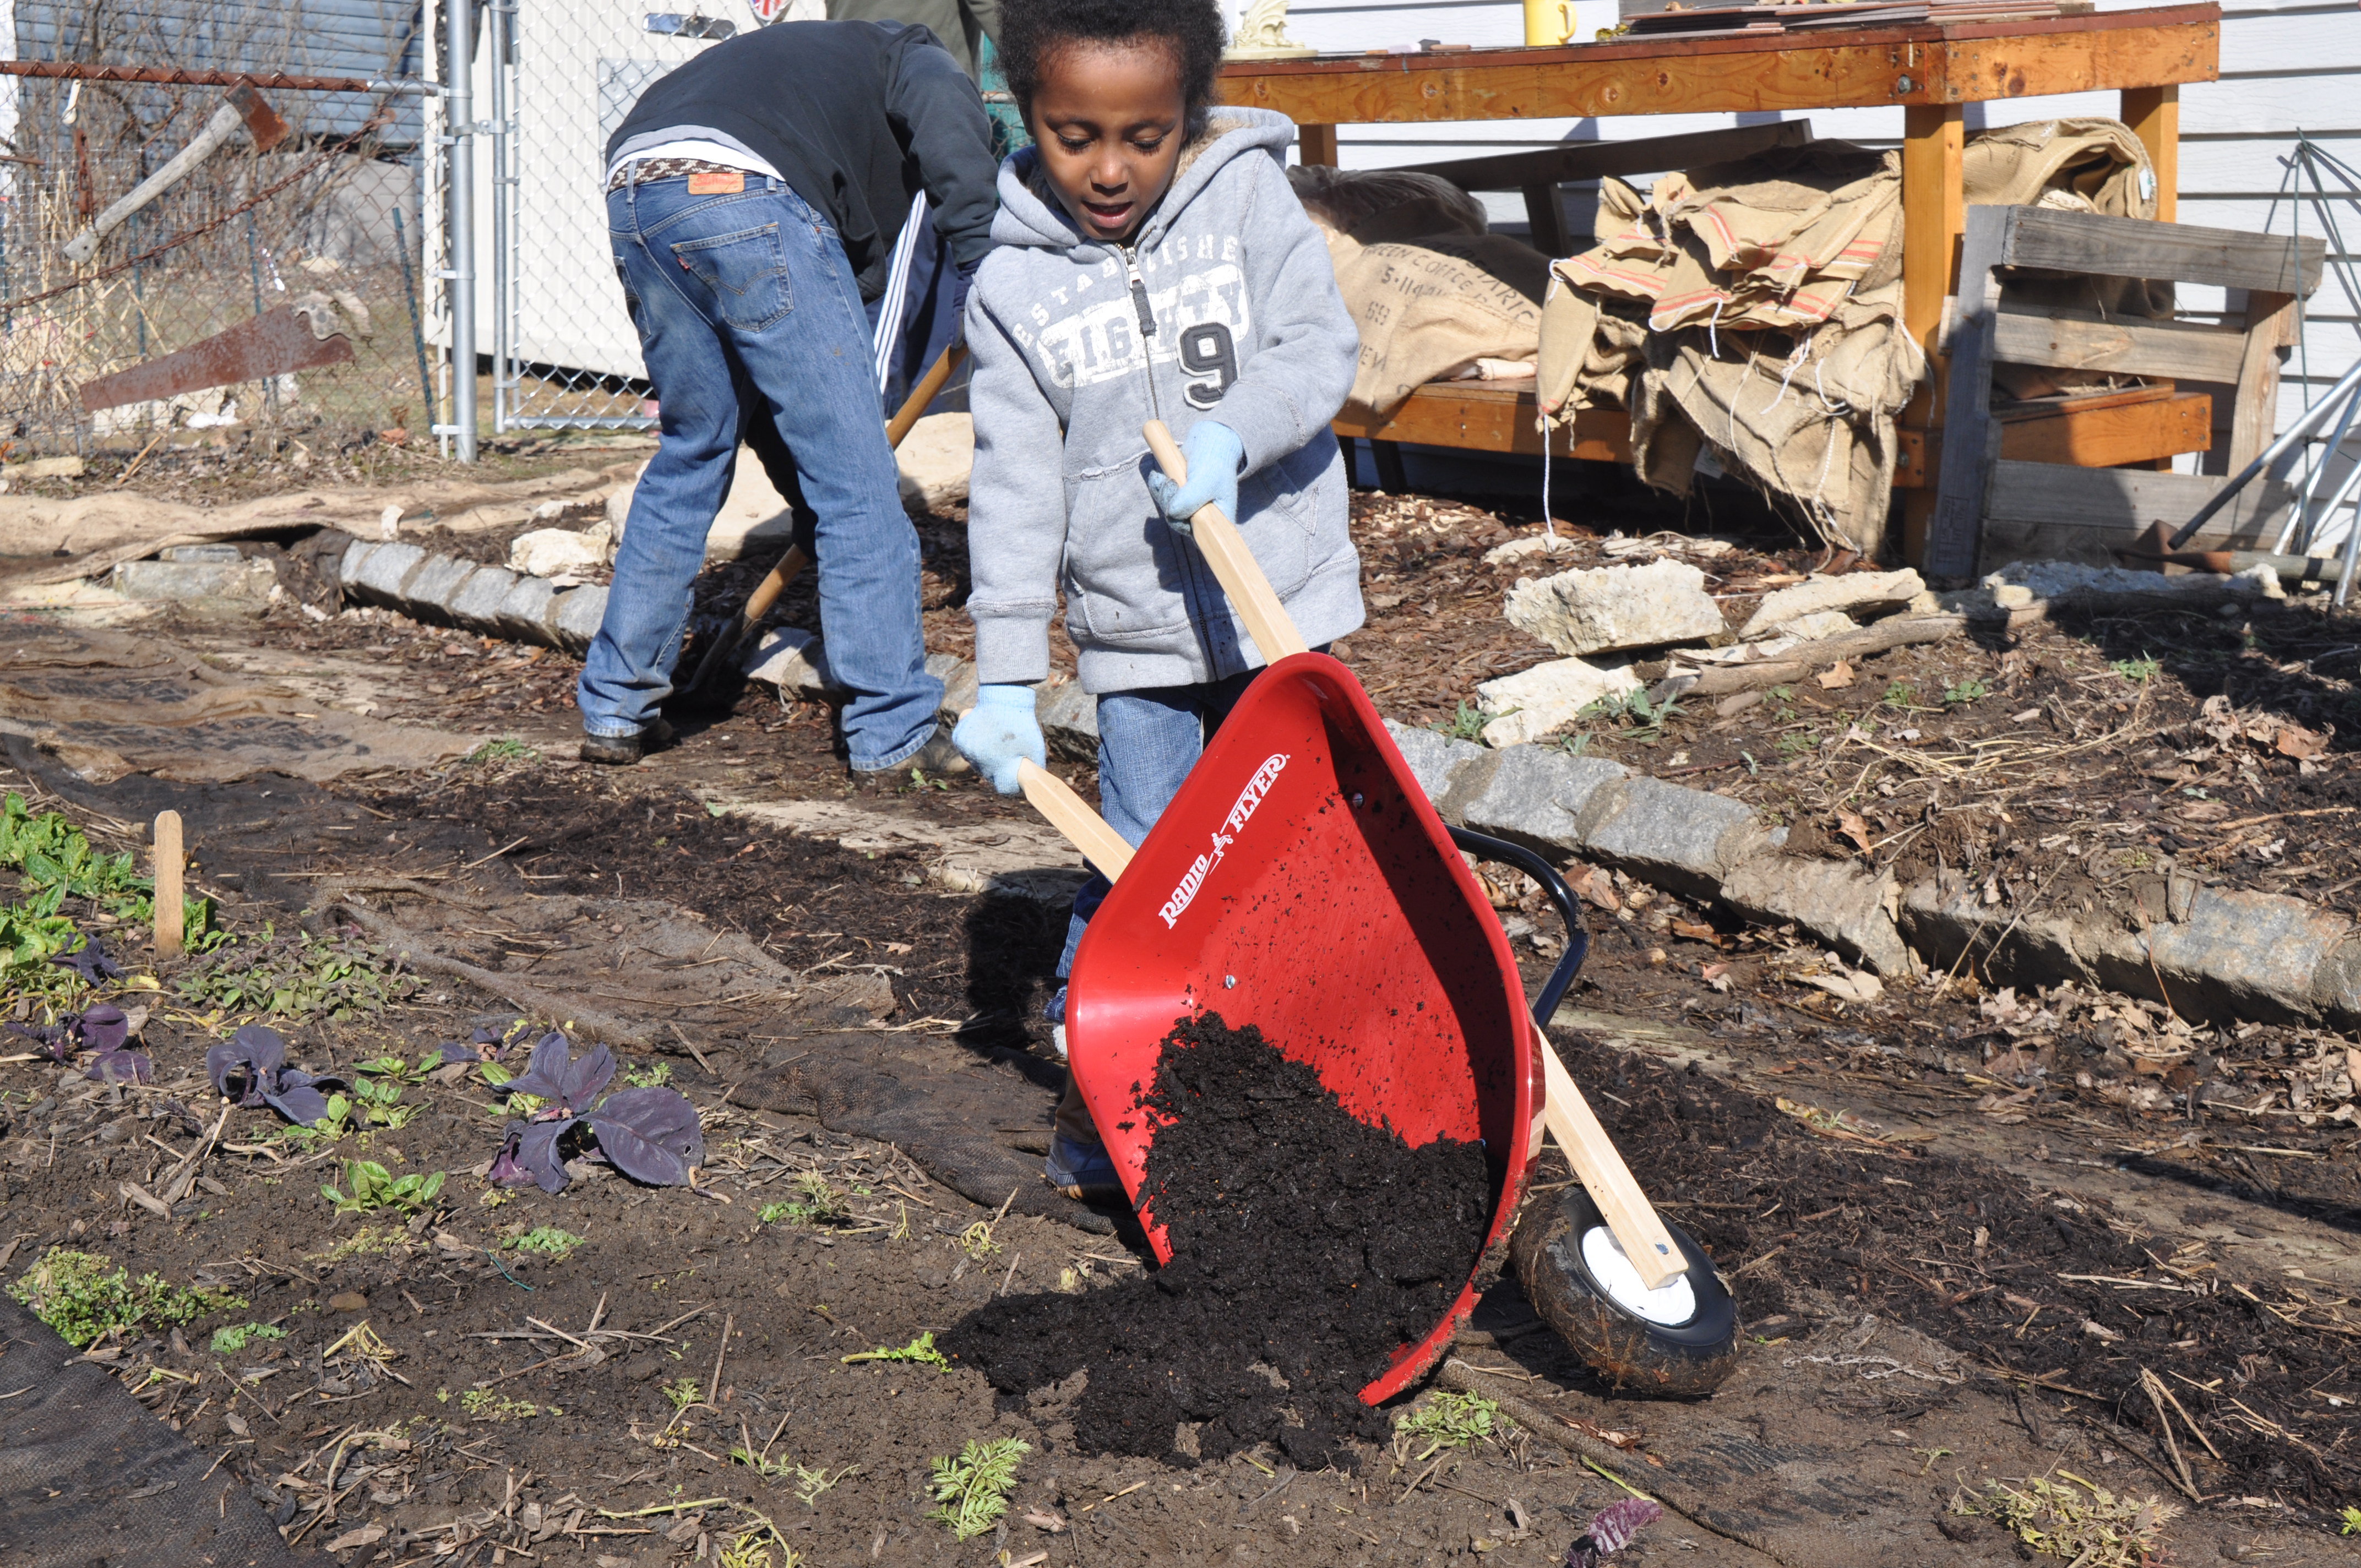
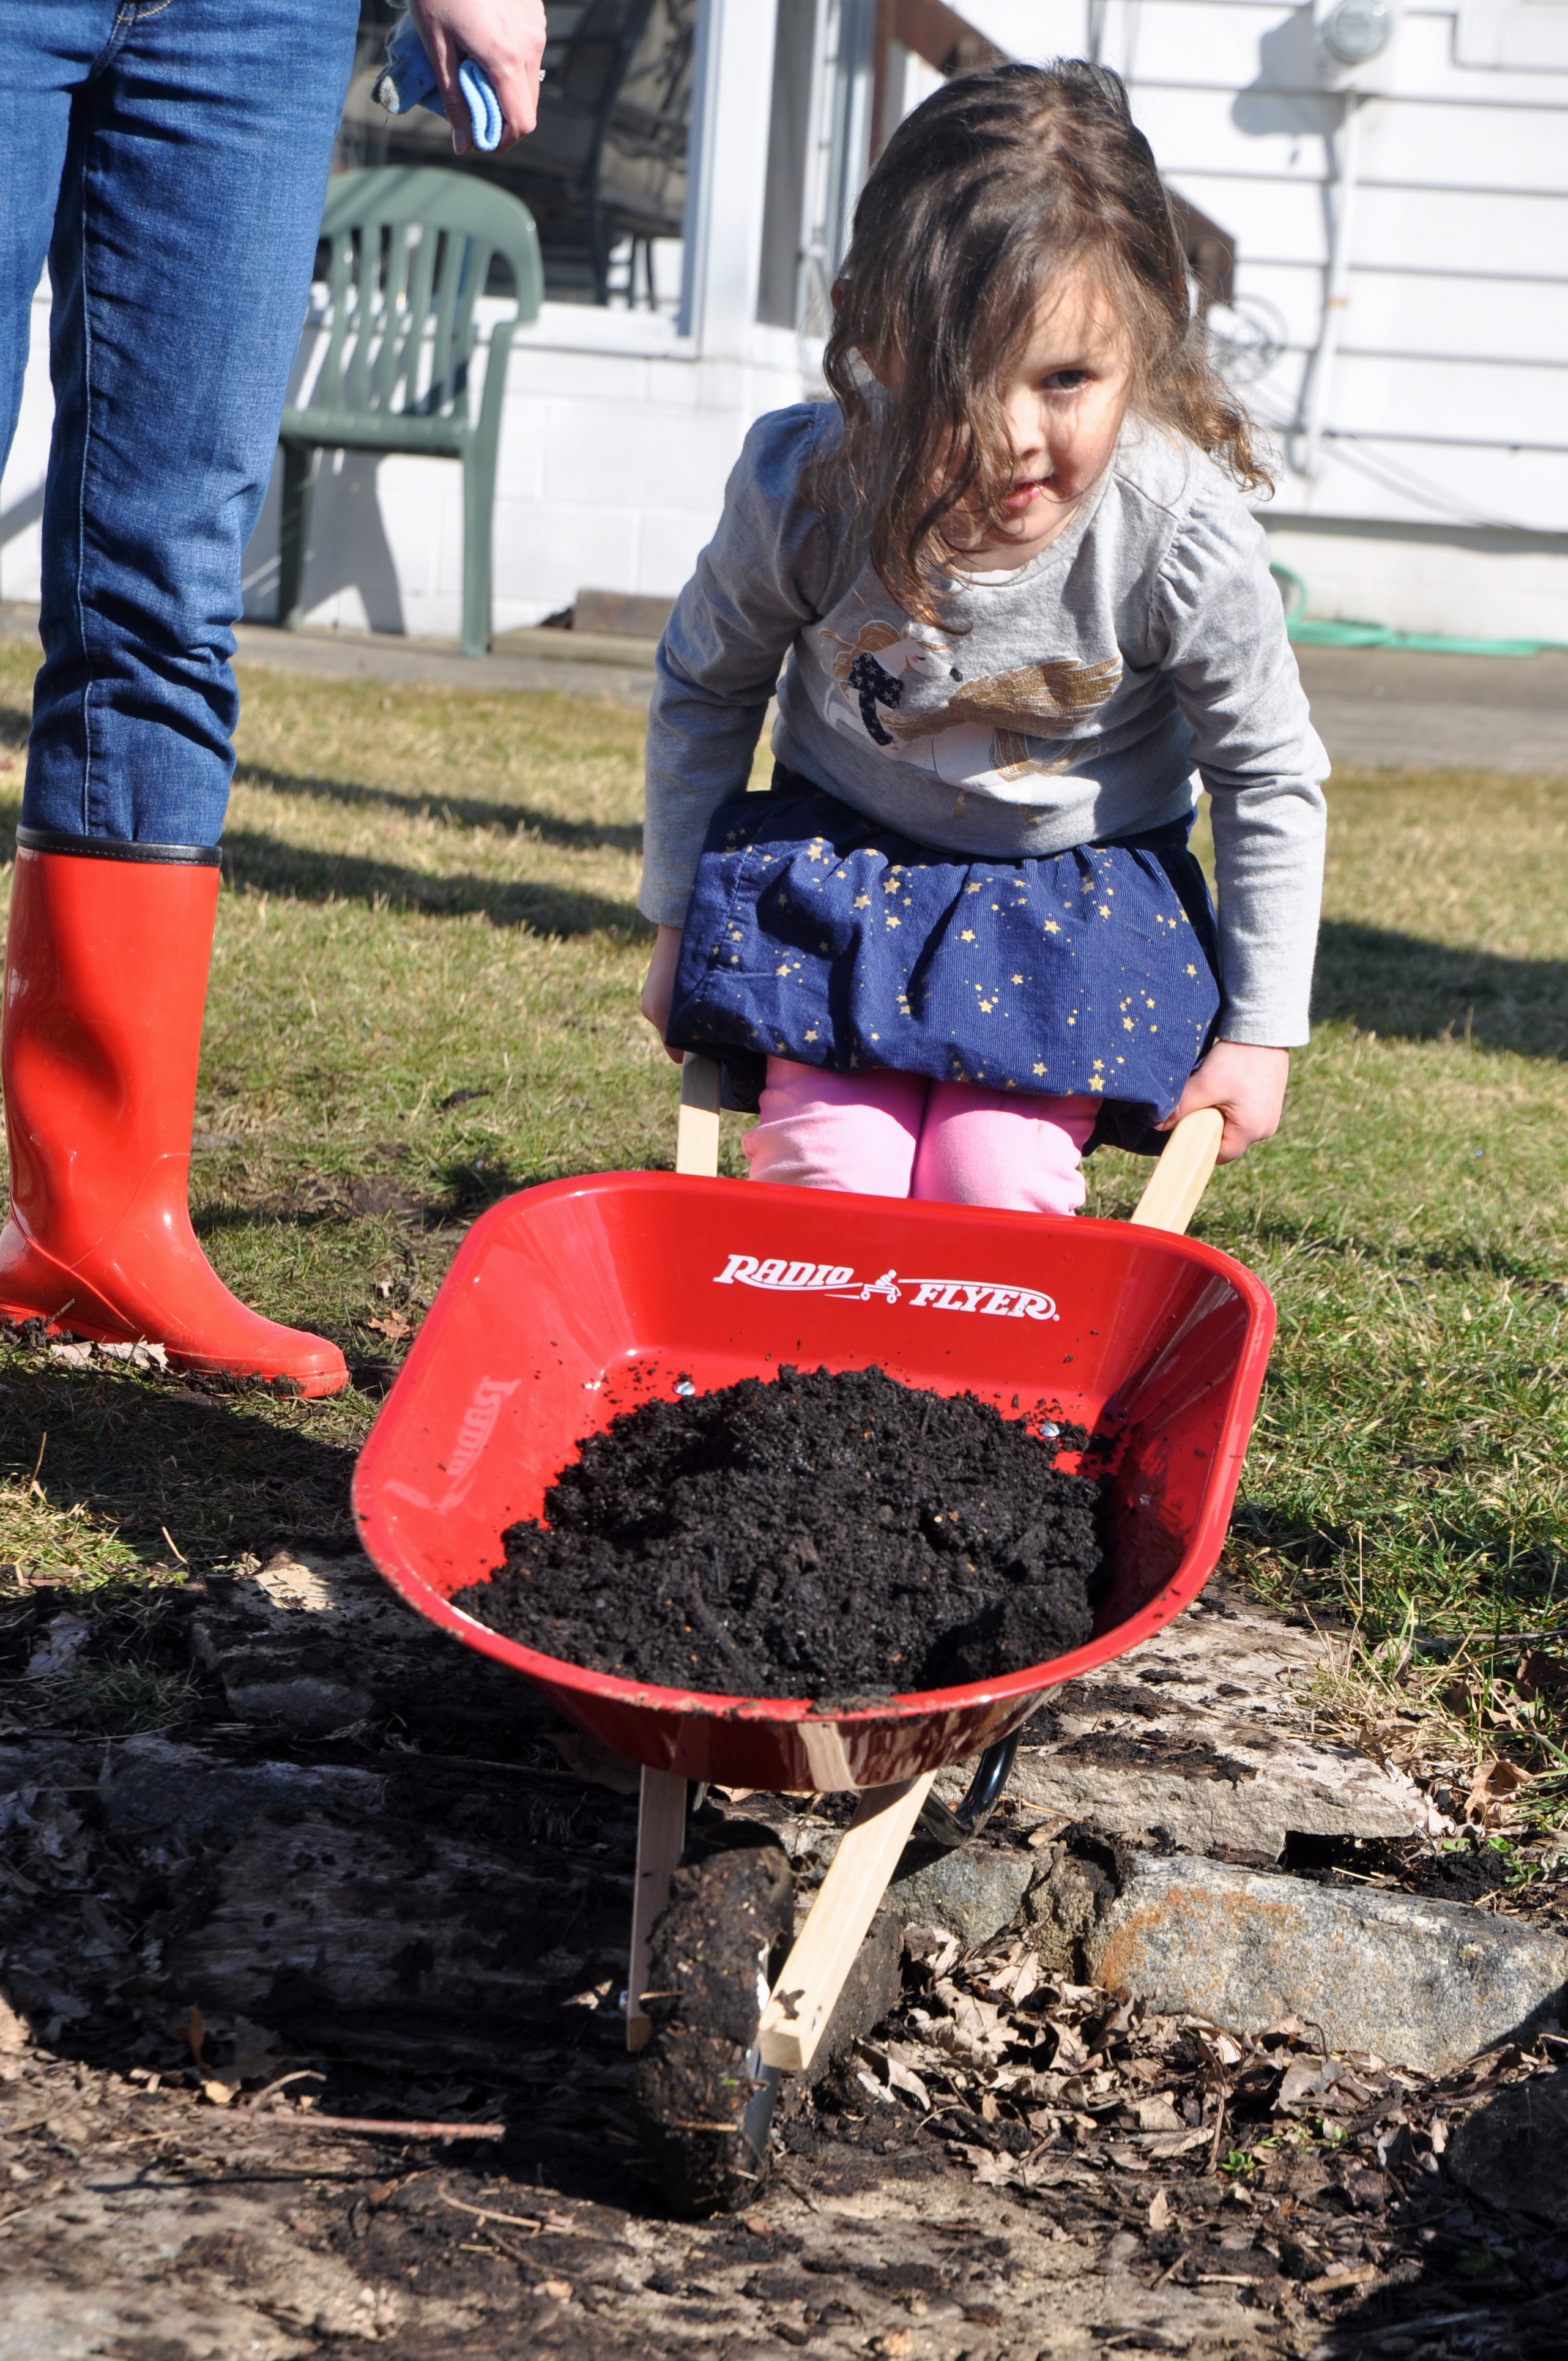
and they took the new wheelbarrow out for a roll.
Henry and Marc assembled our new farm toy – the broadfork.
Then Henry, David, and Andrew put it to work.


Cora, Melissa, Kate, Pam, Elizabeth, and I planted and transplated – leeks, cabbage, radicchio spinach, radish, kale, chard, peas, and fennel.
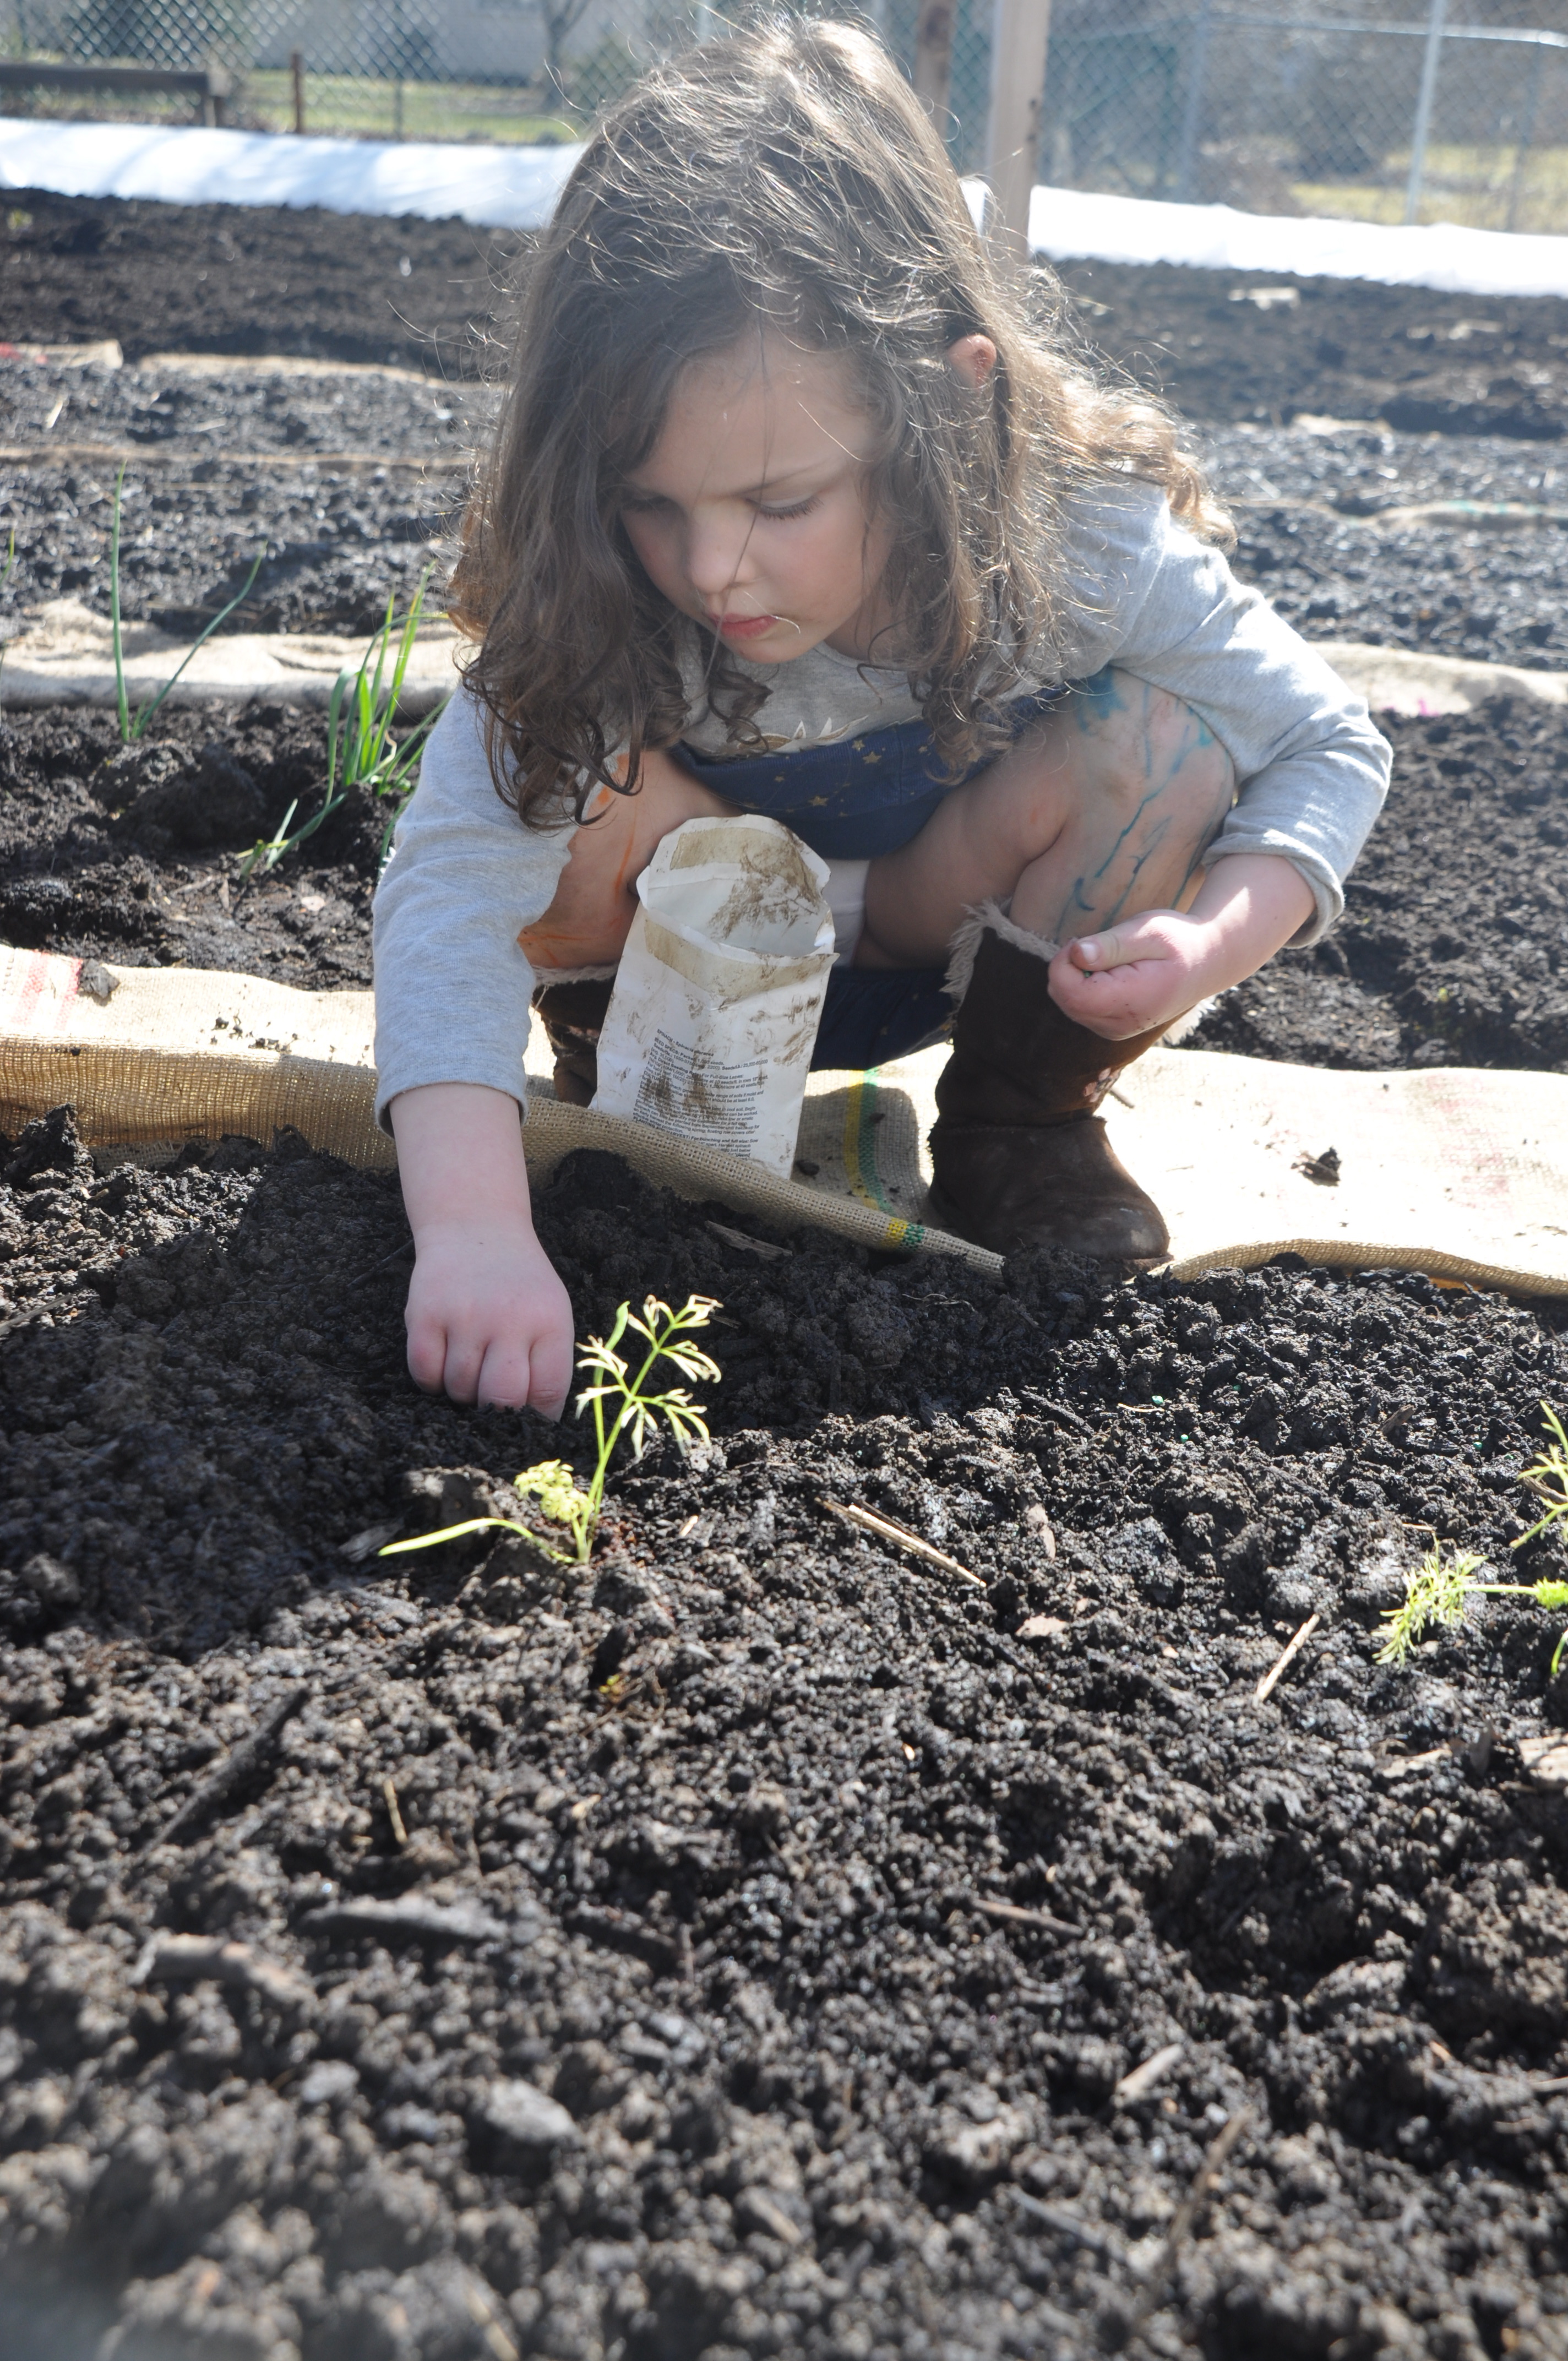
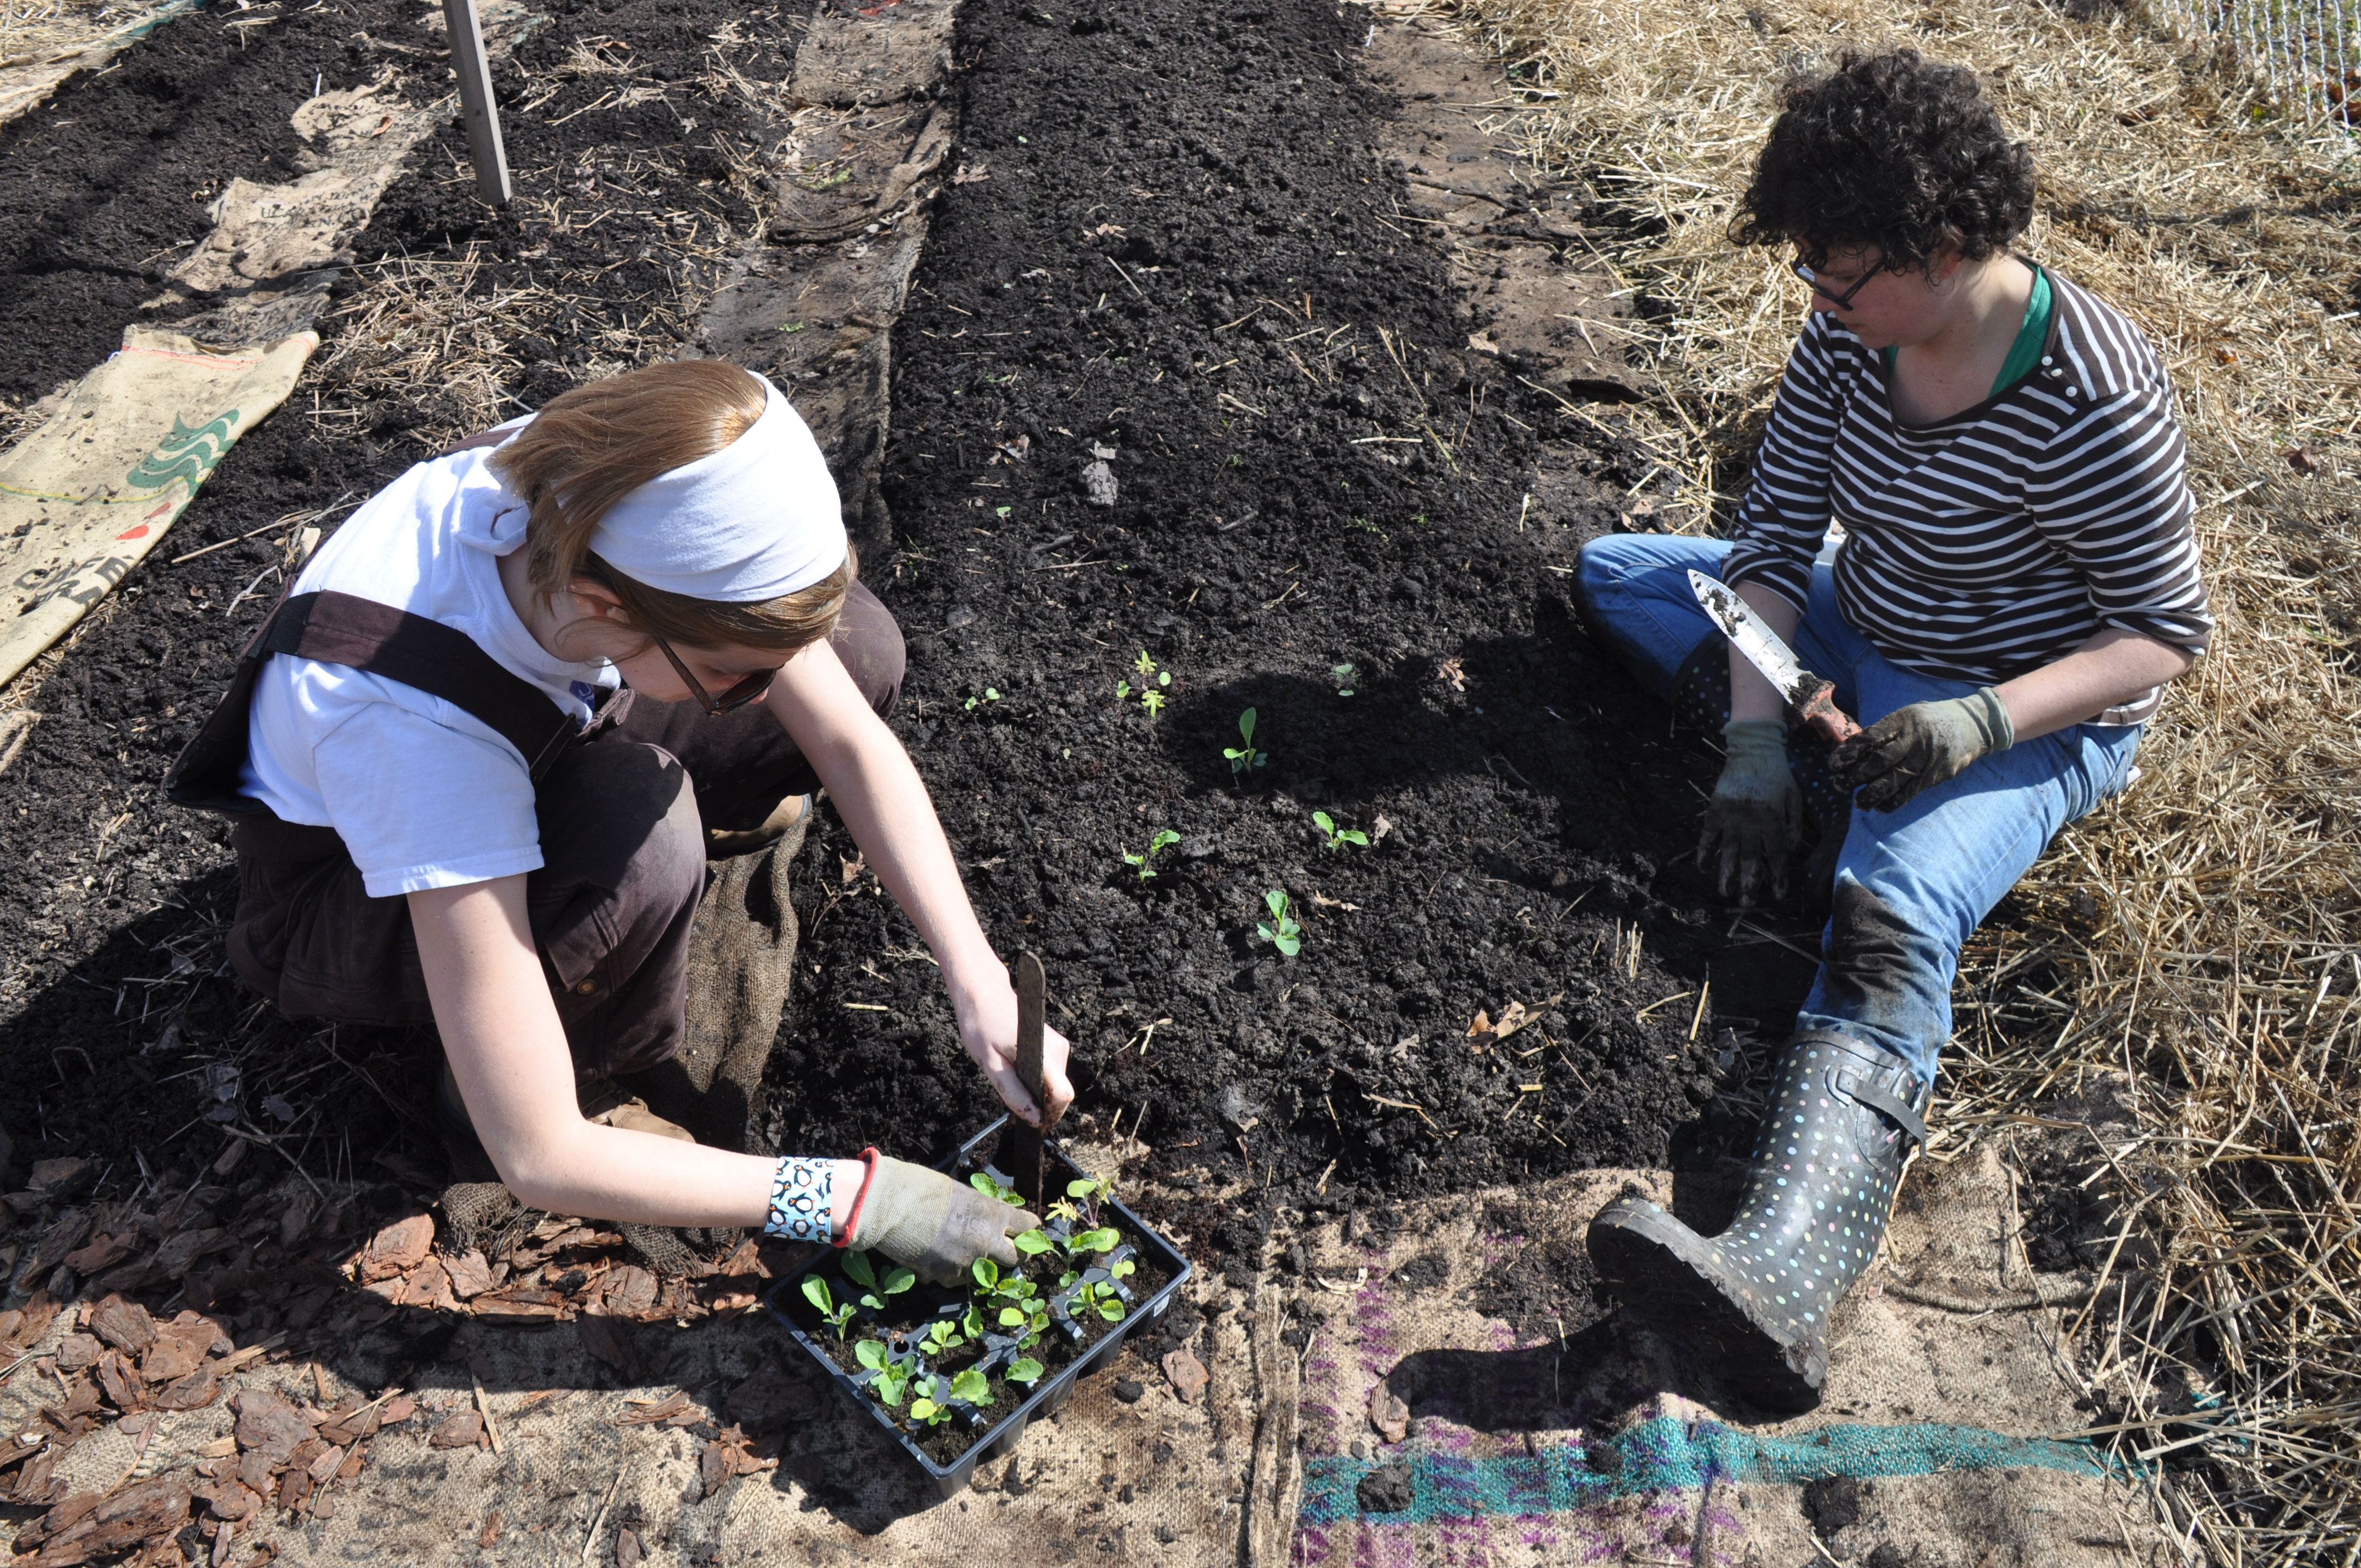
Then Carrie and I put them all to bed under a nice frost blanket.


And, of course, we moved about 7 yards of compost! (Go early team that didn’t get caught on film – Jess, Kathy, Damon, Emily, Mark, and Joanna, and Sarah!)
Looking Southeast – Before and After

Looking Northwest – Before and After

It was a VERY good day.
Last I posted here, the 2015 Compost Misogi was just a seed. That seed sprouted, took root, and will bloom this Sunday when CSA folks come by throughout the day to help us spread 10 yards of Price Farm Organics Zoo Brew compost all over the farm.
Everytime I talk or write about this, the voice inside my head sounds like a sports announcer, and I’m cool with that. This event has all the makings of a great test of endurance and determination – physical challenge + finite task.
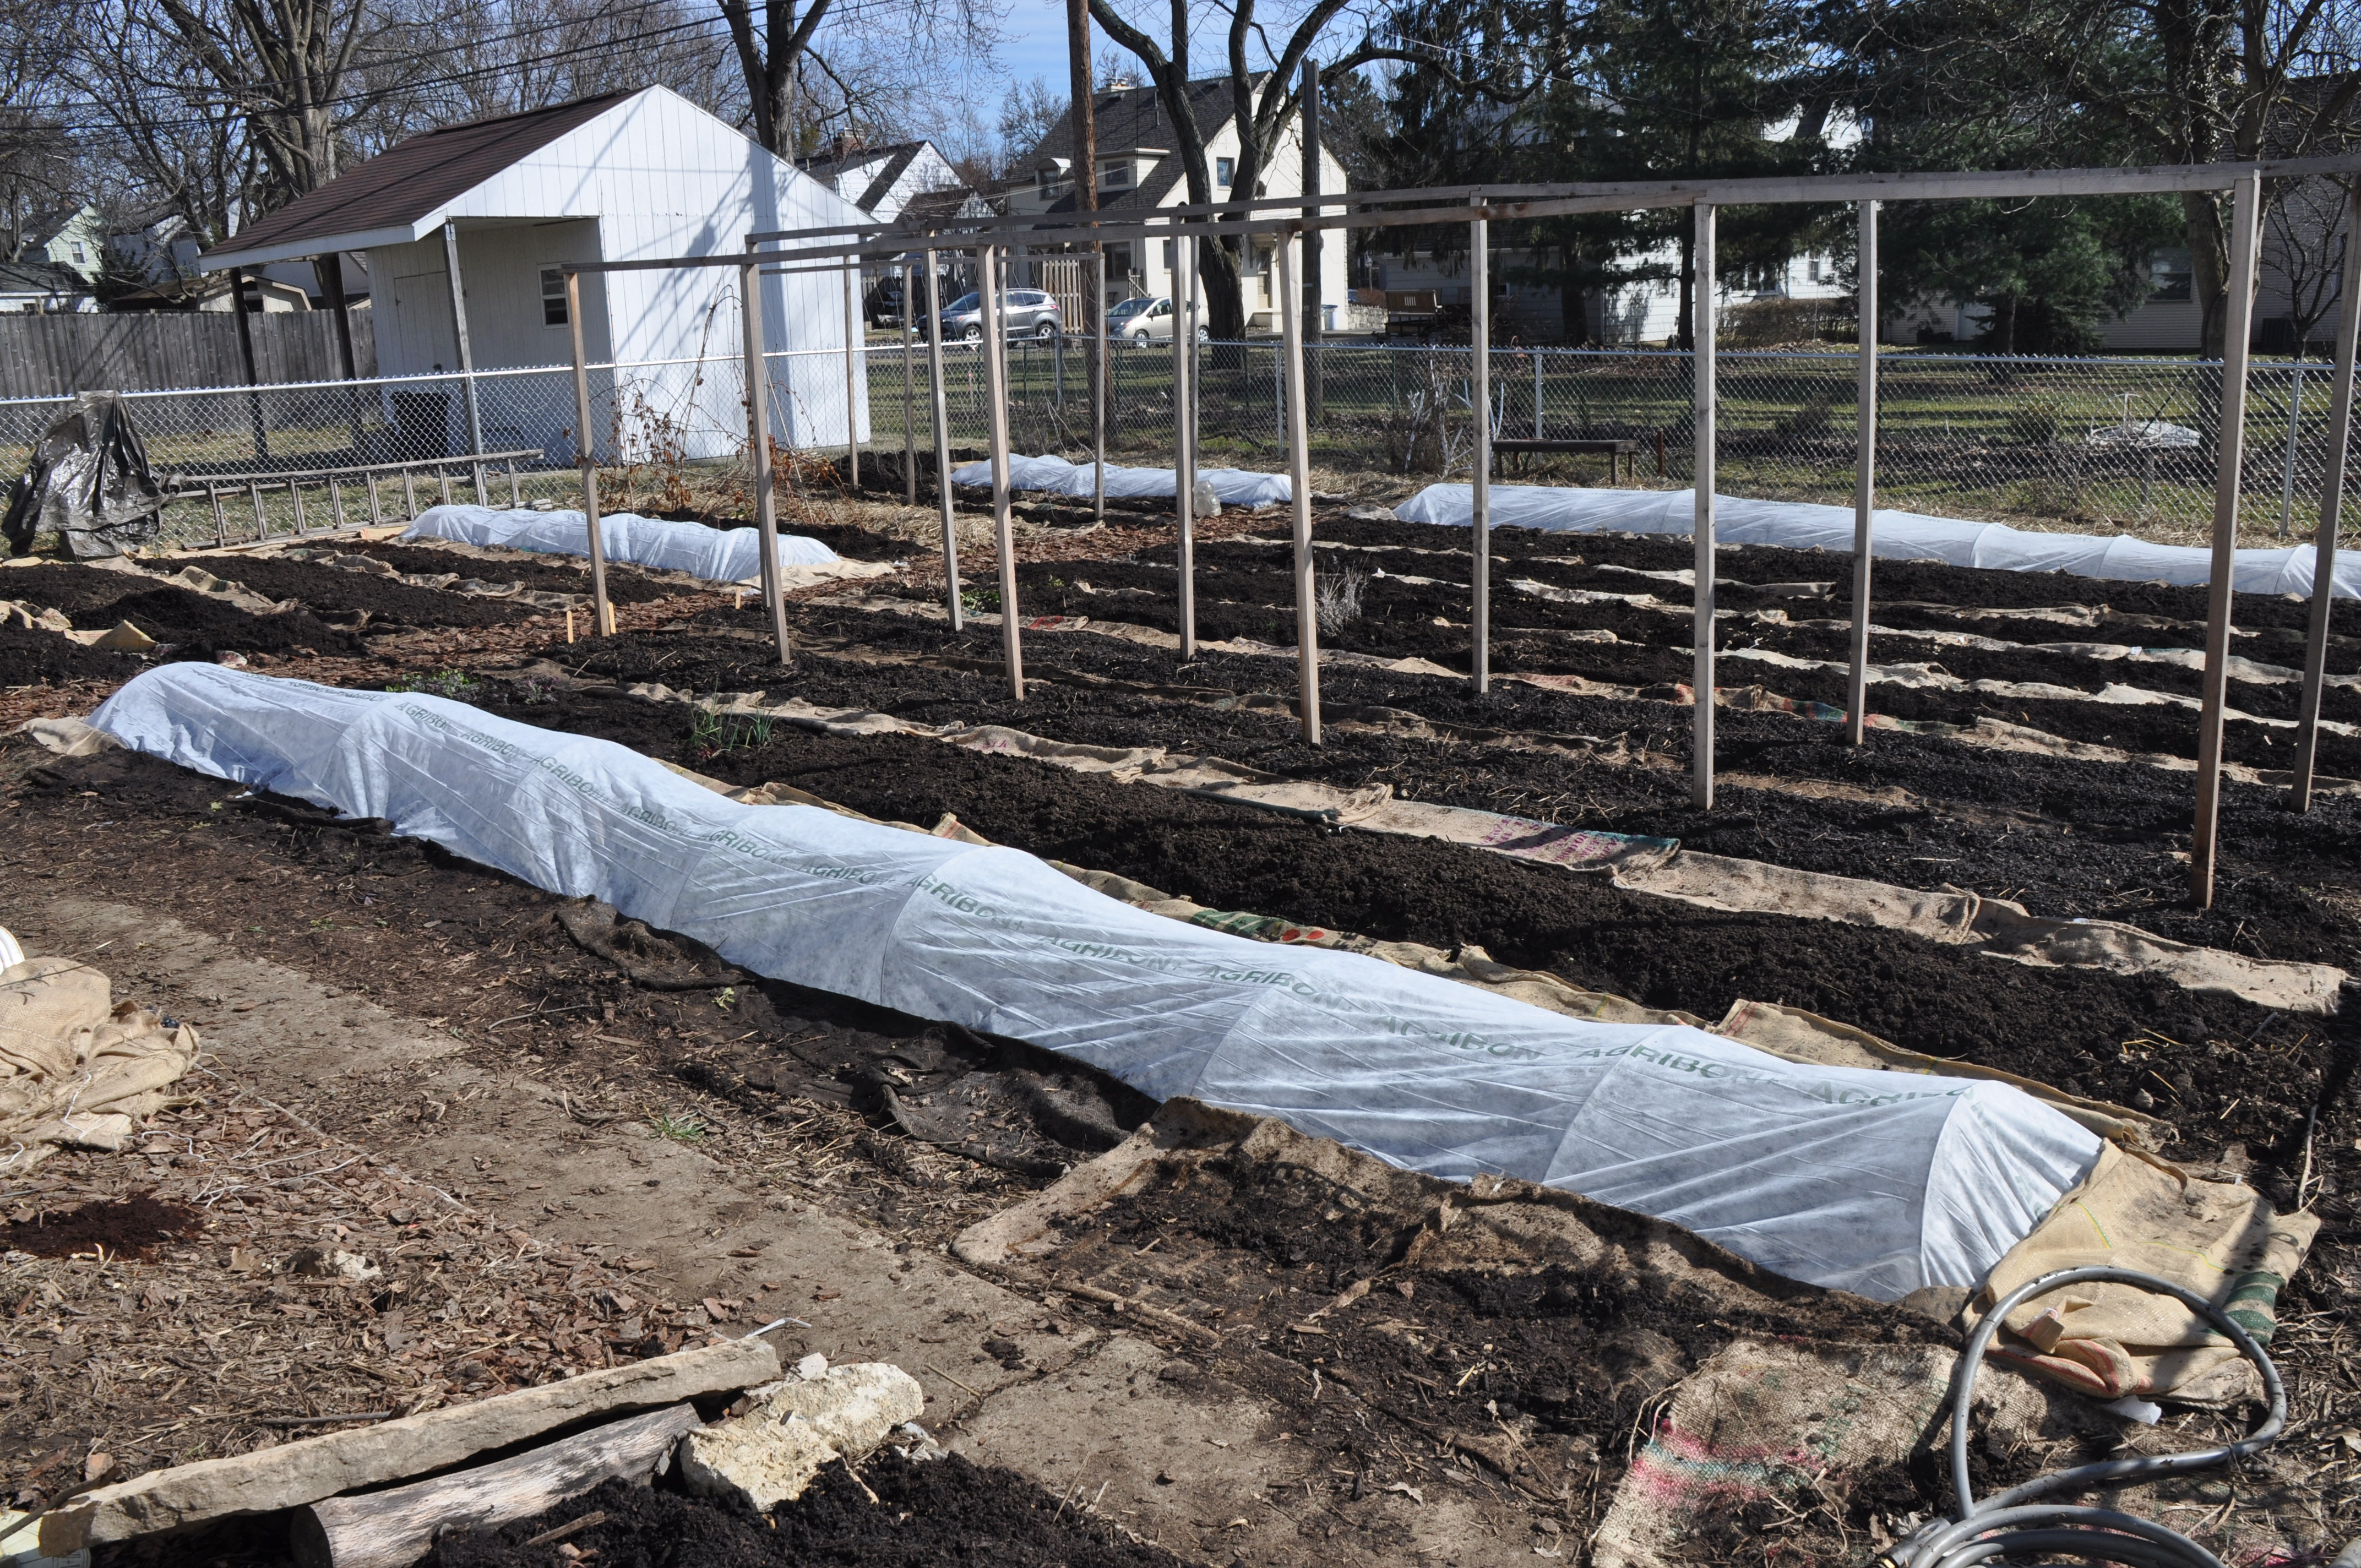
Yesterday I picked up another load of burlap coffee bean sacks from Crimson Cup and laid them out in the paths between our rows. Don’t want folks sinking too deep in the early spring mud we’re sure to have. Sadly, it’s raining as I type, and we’re only 36 hours from the opening bell, but the pile is safely waiting for us under the world’s largest tarp. Thanks, Jenny! Something borrowed and blue for good luck, right?
Here’s the field looking southeast.
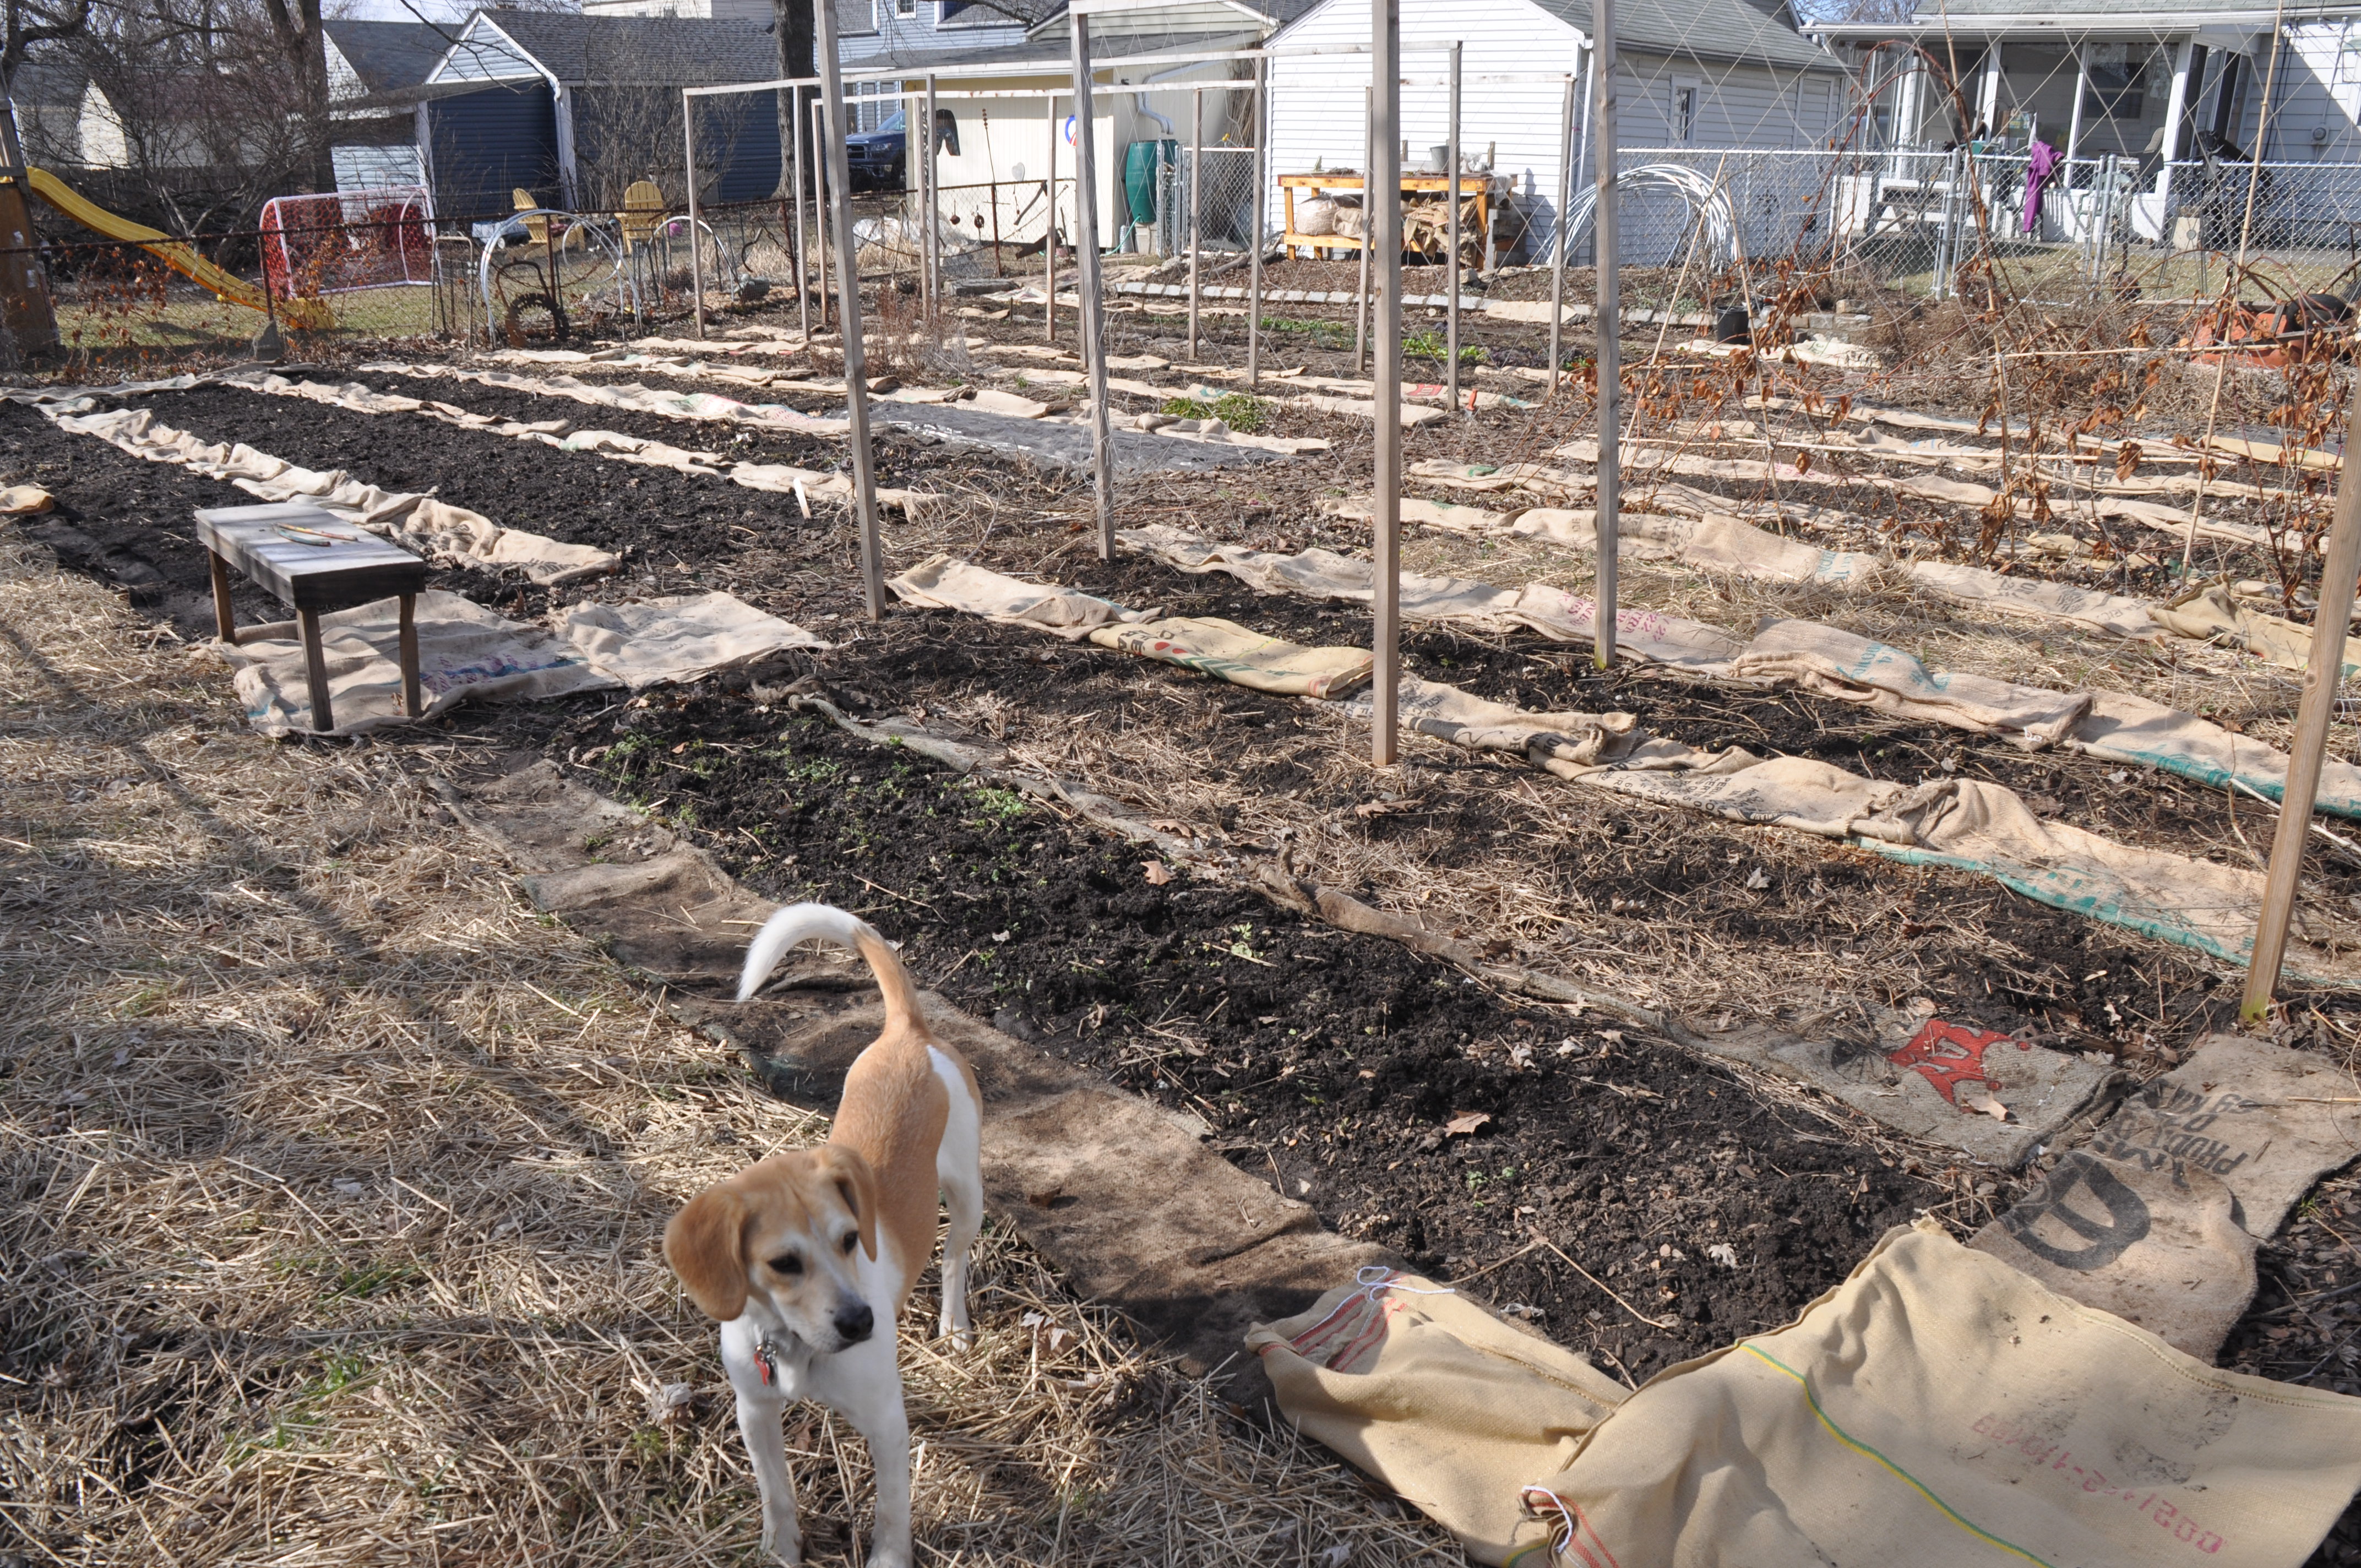
And northwest.
You can be sure there will be after shots.
 There are lots of great things you can grow in your vegetable garden from seed. This is the kind of gardening kids learn about in picturebooks – dig a hole in the ground, put in a seed, add water, and wait. “Direct seeding” in gardening lingo. But there are other things that need more sun and heat to mature than our northern North American climate can offer in a single season. These must be started indoors, in late winter or early spring. Tomatoes, for instance, make up some portion of 85% of kitchen gardens in the U.S. and we’re starting ours this week!
Growing your own seedlings is a rewarding way to get through the final days of winter and save money in the garden. But it’s not for everyone. It’s a lot of work to keep things growing strong, healthy, and on schedule. Plants that mature too early can be hard to acclimate to their outdoor environs. And plants that don’t receive the right amount of light and nutrients may never catch up. Sick seedlings are also more susceptible to disease and pests, neither of which you want hanging around.
So, if you don’t have the time or equipment to give your seedlings a good start, stick with locally grown plants, raised by folks that do. You’ll be supporting your local farmers and ensuring that you’ll have something to harvest when the time comes. Be sure you get organic stock to avoid seedlings raised with neonic insecticides that can be harmful to bees, contaminate your soil, and leave chemical traces in your produce.
Here are three of our top tips for growing your own seedlings:
1) Dedicate space to your endeavor. Be sure it is out of reach of young children and pets. Make it somewhere you don’t mind getting messy. And locate near a water source, if possible. We set up in our basement. It’s grown a bit each of the past few years. We now have a nice sized potting area with space for our DIY heating mat and two large shelves dedicated to growing space. There is a utility sink a few feet away in the laundry area. Nothing fancy, but it gets the job done.


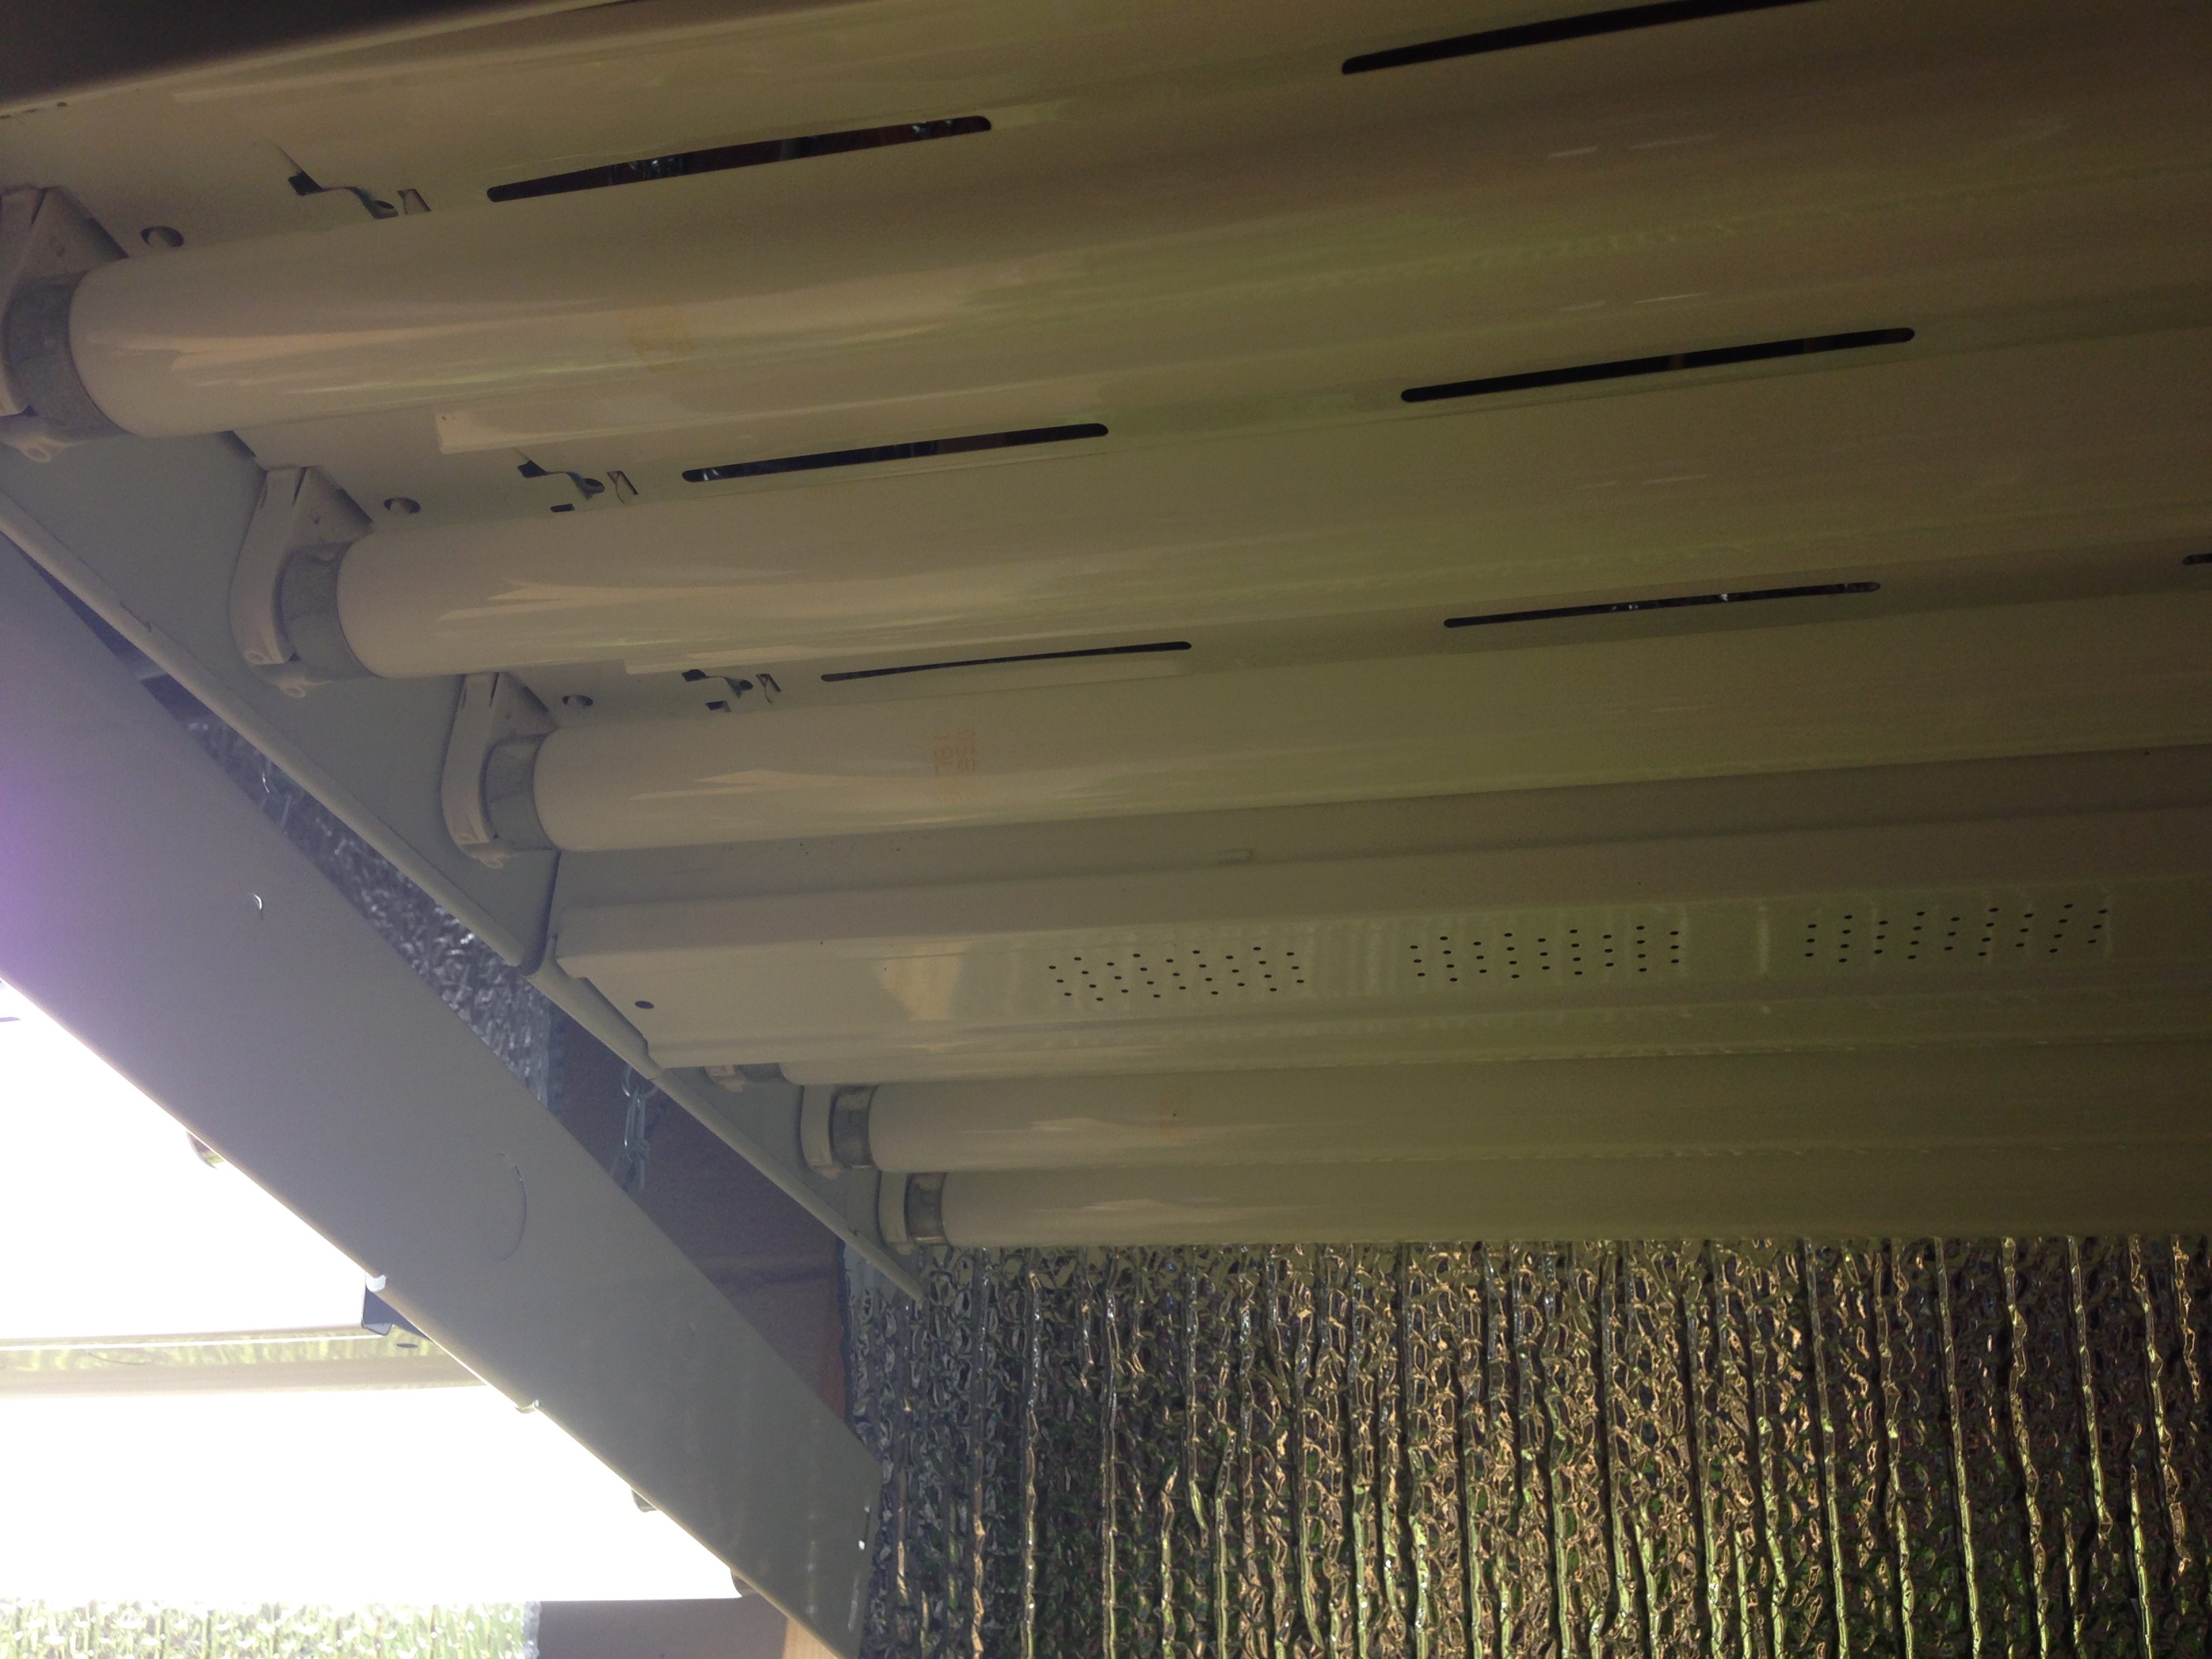
2) Invest in grow lights. We didn’t have them when I first started seeds inside, but they are a must if you are really trying to do this right. (And, to reiterate my point above, if that isn’t your plan, I’d leave it to the experts.) We got our lamps from a commercial supplier that Dan knows through work. They are super efficient, T12, four-ft. flourescent bulbs, 6 bulbs per unit. When we first started using them I was terrified to see the electric bills, but they didn’t change at all! Goal for 2015-2016 is to always have something growing under there, winter, spring, summer, and fall to increase our yield (indoors as well as out) as much as possible!
3) Know before you sow. I used to start my seedlings in potting soil. Seemed to make sense since the plants were in pots. But last year when we started this venture, I headed to one of the hydroponics shops in our neighborhood for some education on indoor growing, under lights. Mike taught me about coir – or coconut fiber which provides a light, neutral medium for seedlings to grow in. Since the coir doesn’t have much nutrition to offer, he also recommended some food – Nectar of the Gods’ Gaia Mania. (The coir is probably the least sustainable part of our operation as it’s sourced from Sri Lanka and produced in Holland, but I have tried other brands and this one really is amazing. Your recommendations for alternatives most welcome.)
The nutrients are not important for germination, but as soon as I see sprouts I start feeding them once a week. I generally broadcast seed a bunch of seeds in a single container and then transplant them to their own individual containers. Just like when transplanting in the field, when I move plants to their new spaces, I give them a healthy snack.
Hope to be reporting from the fields soon!
